
 In 2018, I released a video on YouTube called My Holiday Traditions. In it, I talked about a cookie I developed as a kid called Cherry Jingle Bells and I mentioned the recipe would be linked in the description. Well, the problem was, I wasn’t sure at the time how to share it as a young 20-year-old. Now that I’m a mature 25-year-old, I’ve decided to make a blog post with the recipe. HistoryMy mom and I baked a lot throughout my childhood, especially at Christmas time. We’ve made sugar cookies, gingerbread, peanut butter blossoms, peppermint pinwheels, you name it. When I was 9 years old, I wanted to make a sandwich cookie. I told my mom about trying a cinnamon, almond cookie with strawberry filling. My mom suggested cherry would complement the flavors better and she was right. We made these cookies for the first time in 2007 for our holiday cookie exchange party at our new house, and they were a hit. We’ve made them every year since. Note, this recipe is a tweaked version of the sugar cookie recipe from Better Homes and Gardens New Cookbook INgredientsCookies
Filling
Simple Icing (Based on Better Homes and Gardens)
Instructionscookies
Filling
Simple Icing (Based on Better Homes and Gardens)
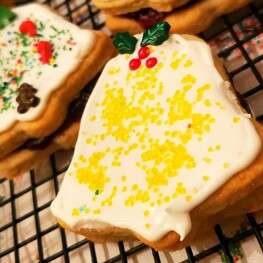
DecoratingAfter all the cookies are filled, get your icing and an offset spatula to frost the cookies. You can use the simple icing recipe above or you can use a simple royal icing recipe of your choosing. Nothing too heavy that overpowers the cookie. You want to add a small amount of icing to cover in a thin layer over the top of the cookie.
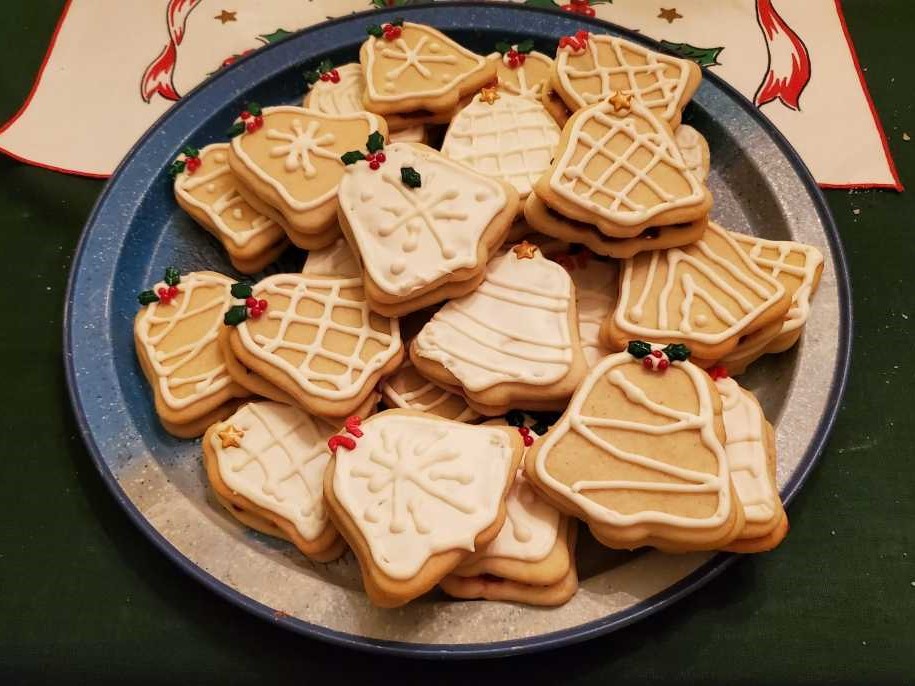
That’s all there is to it. I hope you all enjoy these cookies; they are a favorite in my family. If you do make them, please show me by tagging me in photos on Instagram @littleanimatedmecomics or @littlemecomix on twitter. Thanks for reading, Happy Holidays and Have an ANIMATEDLY Happy New Year!!! 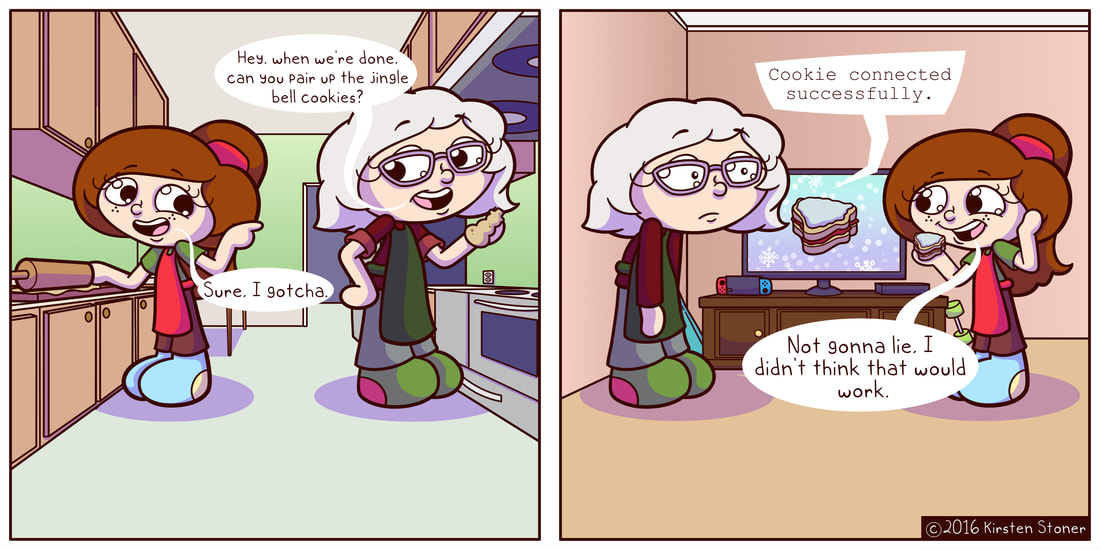
0 Comments
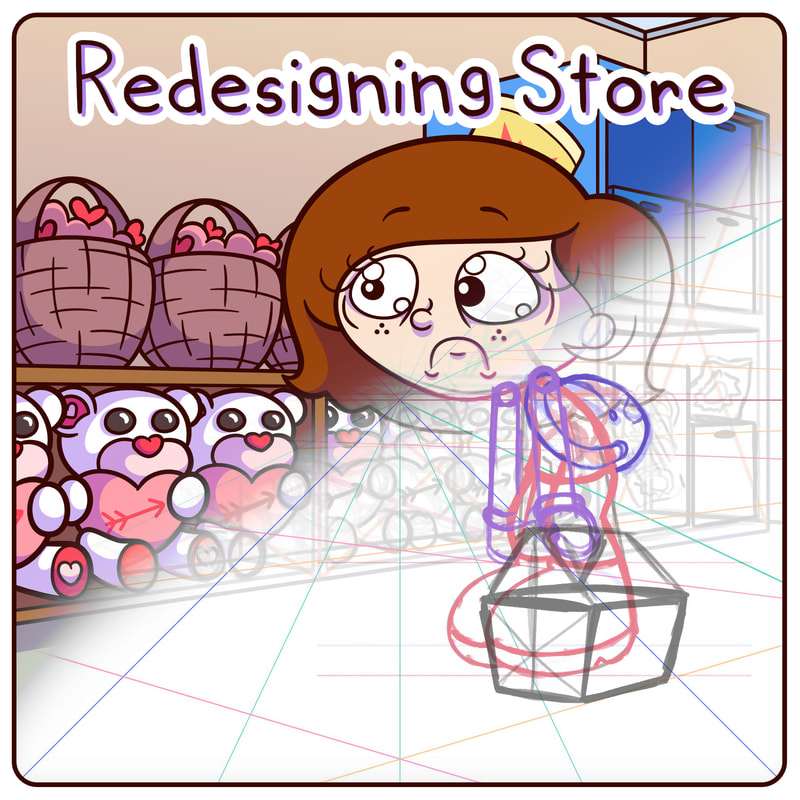
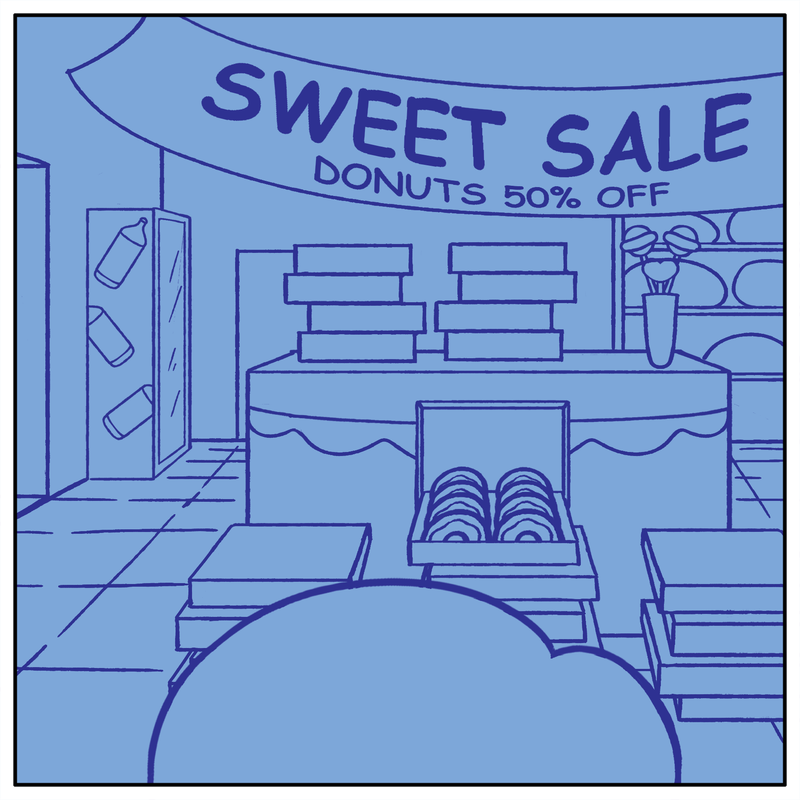
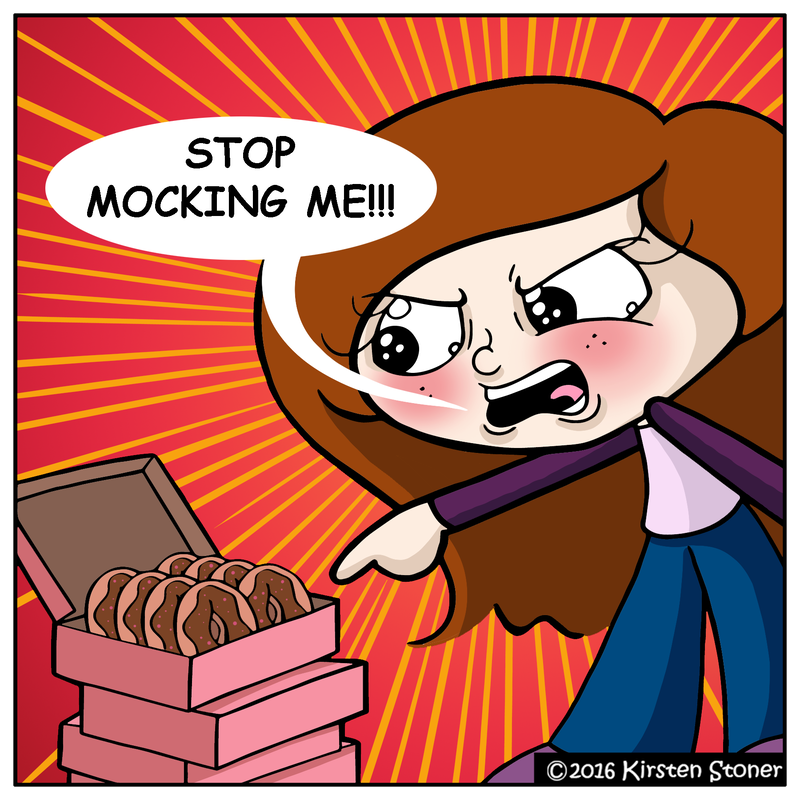
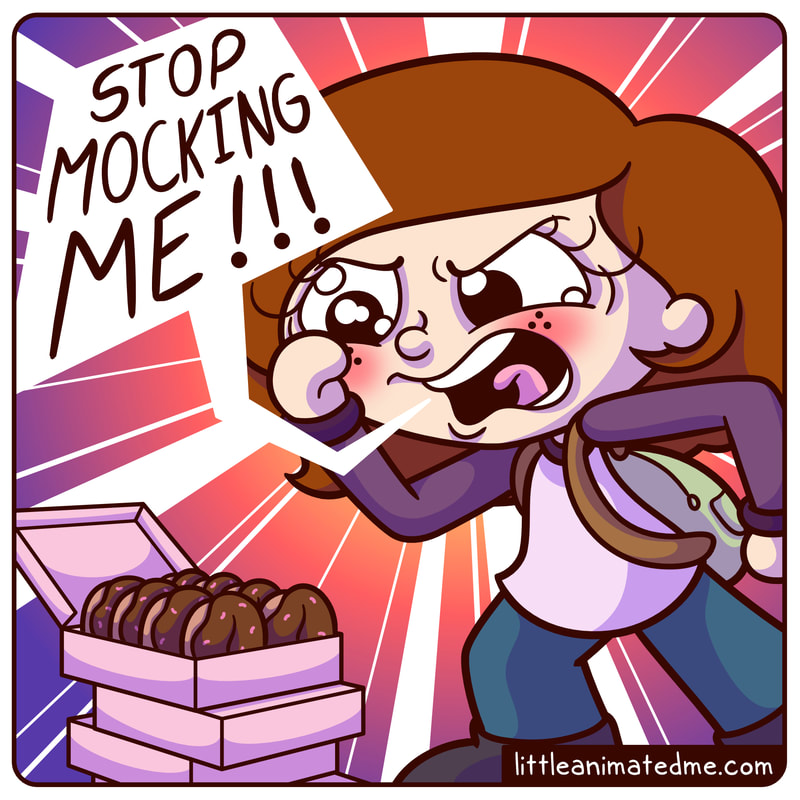
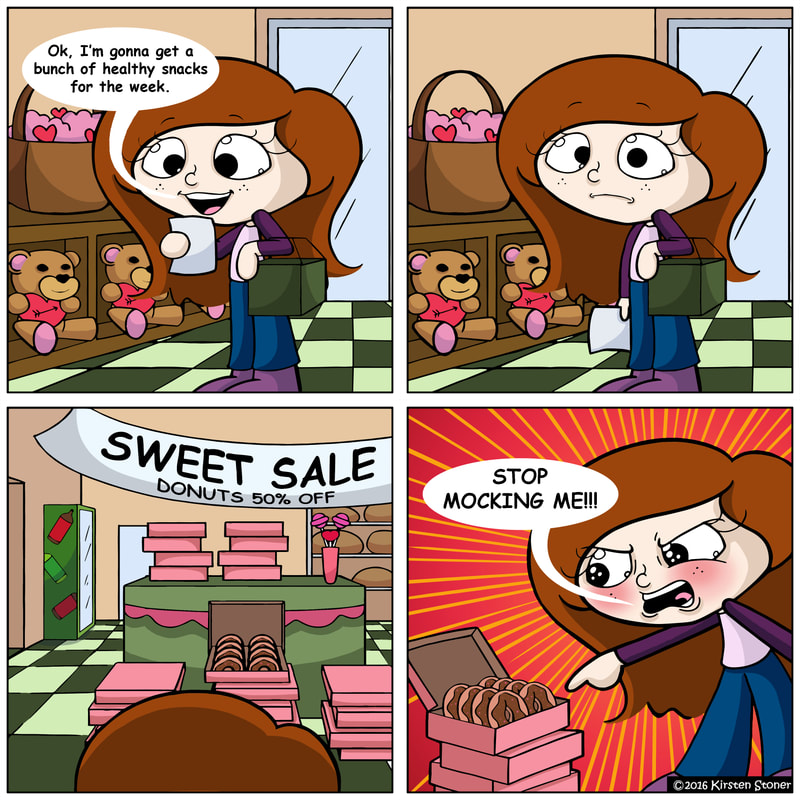
Have you ever noticed that when you decide to make a healthier decision for yourself, there’s always a reminder that you want a donut instead? This happens to me towards the beginning of the year when I have my resolutions. Unfortunately, this is also the time of year where you have leftover Christmas cookies, New Year’s brie, and then Valentine’s treats. And worst of all, leftover baked goods go on sale at the grocery store. I first posted my comic Store in February 2019. This comic demonstrates how I implemented more complex backgrounds and stronger storytelling poses into my work. At the time, this was a dramatic upgrade over my previous comics, but four years later I’ve decided that there’s still room for improvement. Heck, at the time I was still using "everyone’s favorite font."
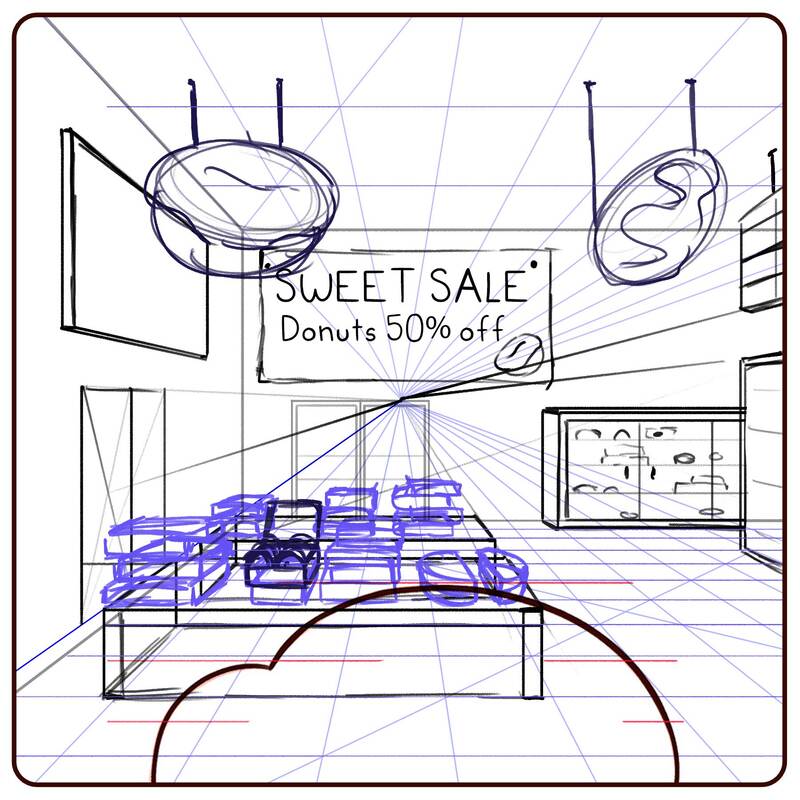
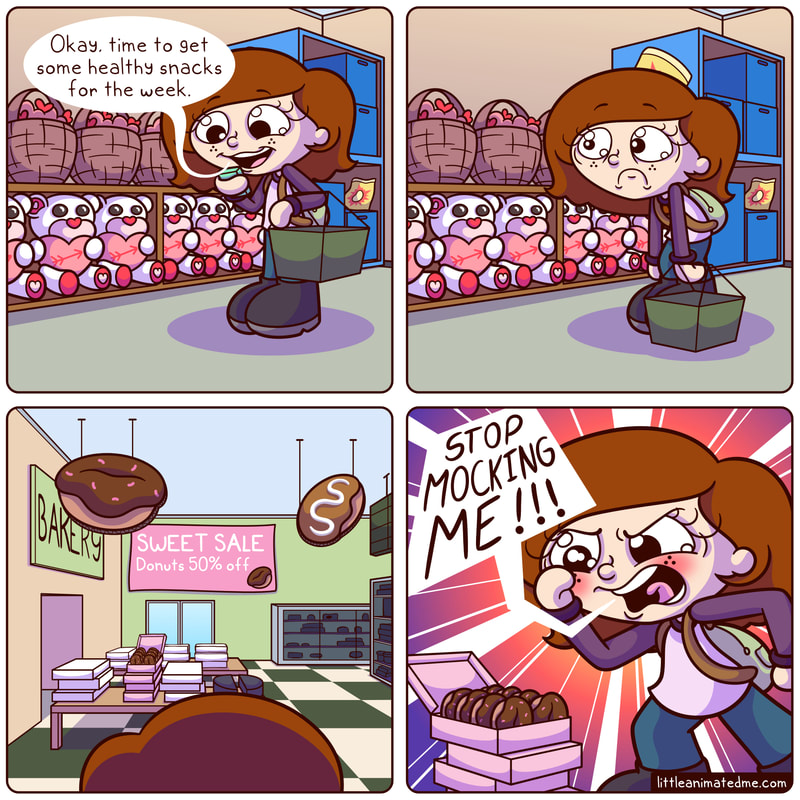
All in all, I’m very happy with how this comic turned out. Despite me having a better artistic foundation, this was still a challenging comic because of the more perspective-heavy backgrounds. But hey, struggling means that you’re growing, and I hope to grow more by improving my past comics. Now I’d like to ask you guys a few discussion questions. What do you think of the changes I made to this comic? How would you approach fixing the original comic? Are there other perspective errors in the original or the new version that I didn’t mention? How would you have adjusted the character acting to read the same emotions but clearer?
|
 RSS Feed